|
For this project, you will need to bring in an old family photo. The more distressed the photo, the better (i.e. creases, chips, discoloration, fading). 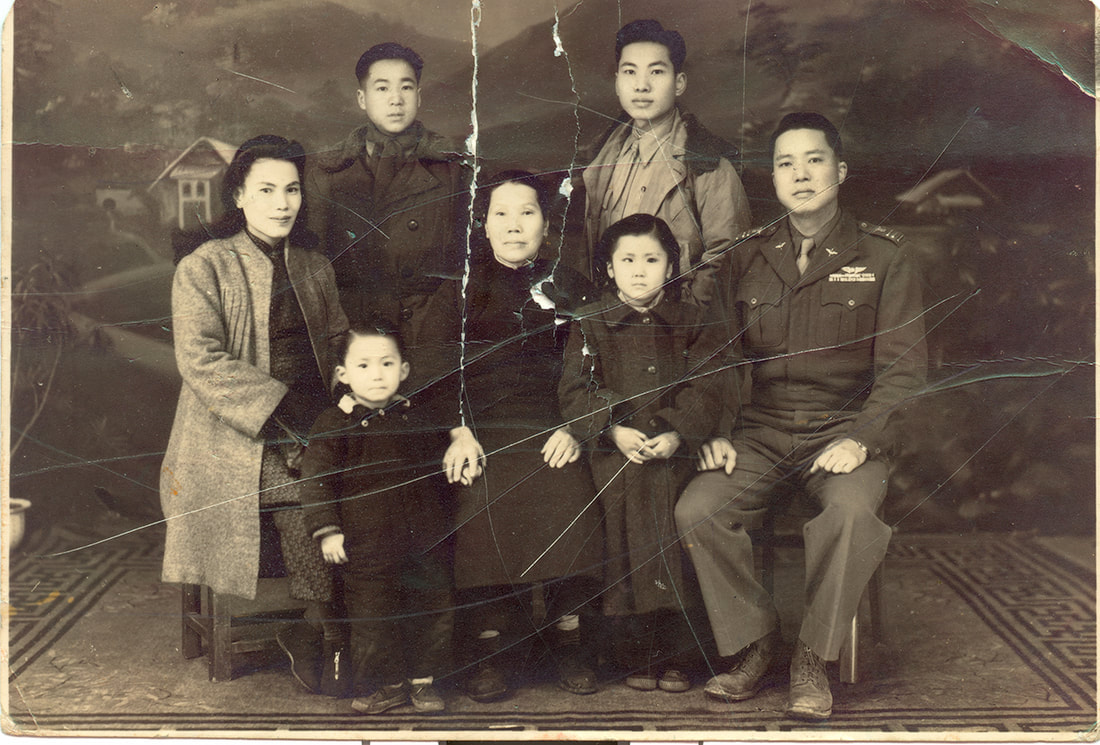 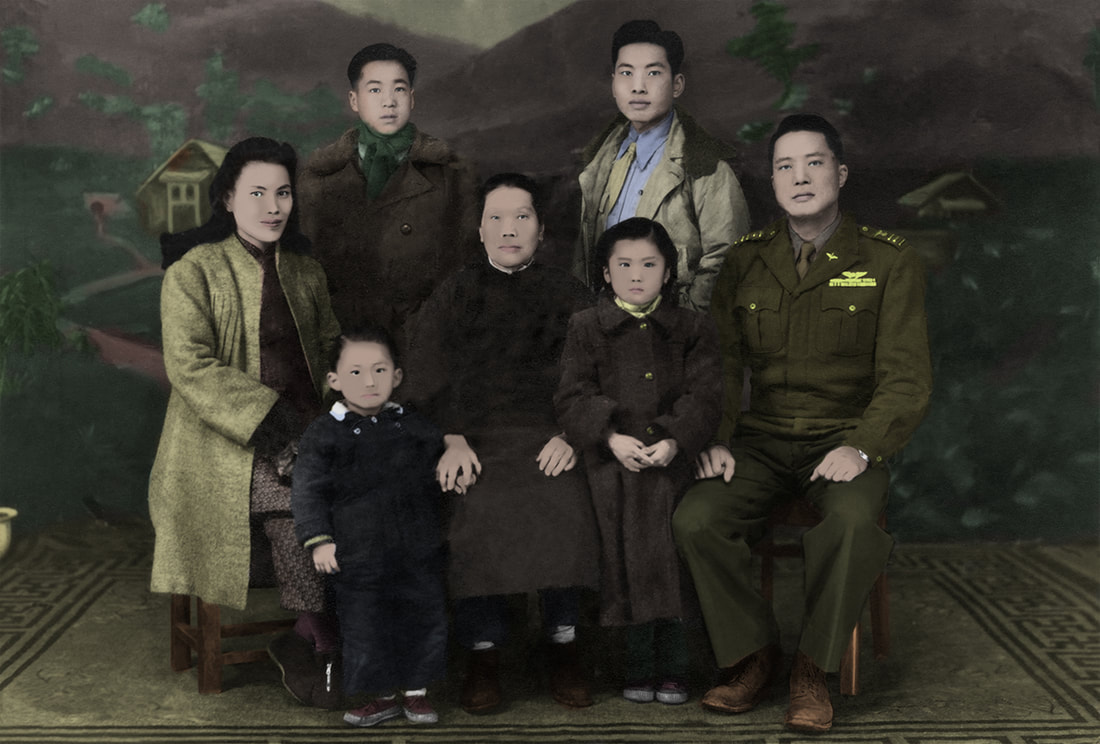 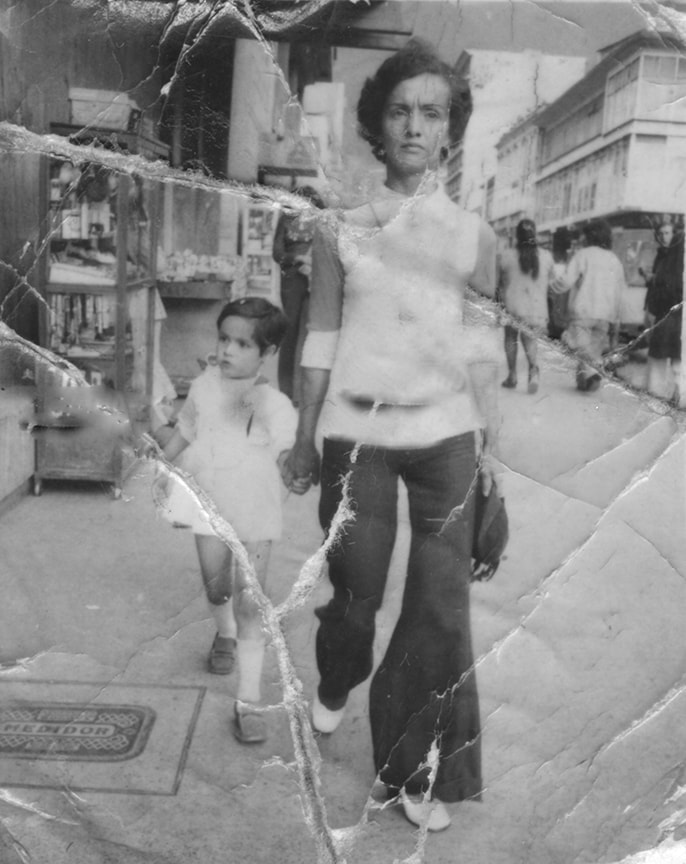 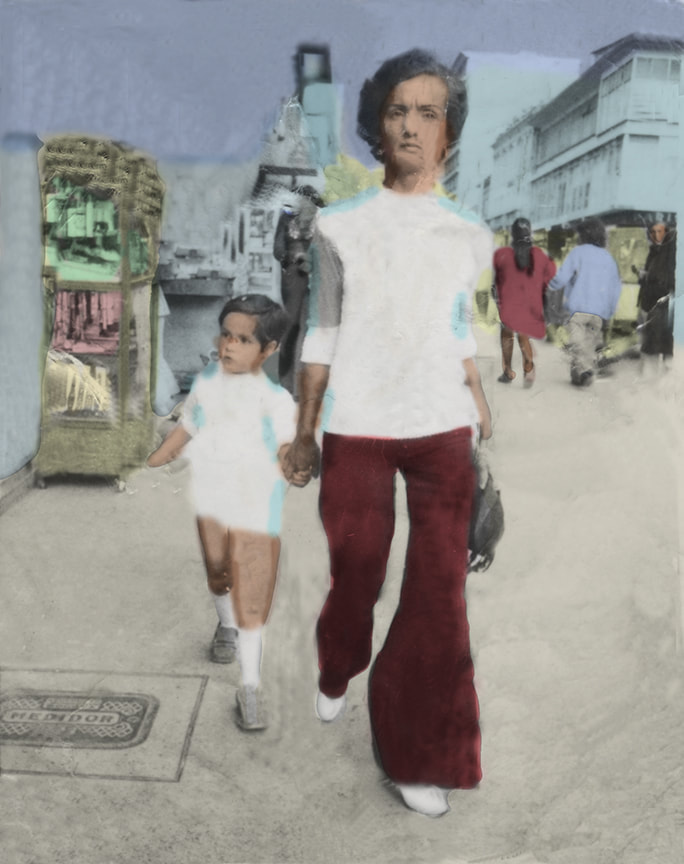 Due:
One week. Project Description: Using the clone stamp tool, paintbrushes, fills, and the multiply mode, restore an old, distressed photo to new life by removing the scars and blemishes and adding full color. Objectives:
Adobe Photoshop Format:
Tips:
Grading Criteria:
2 Comments
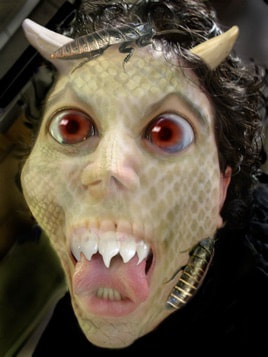
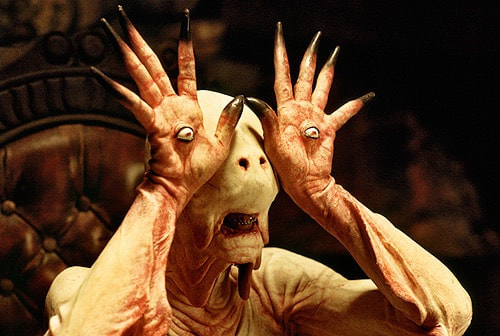
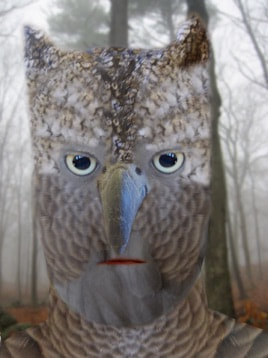
 grotesque
noun
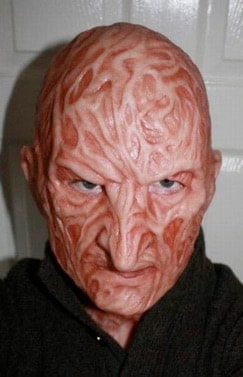
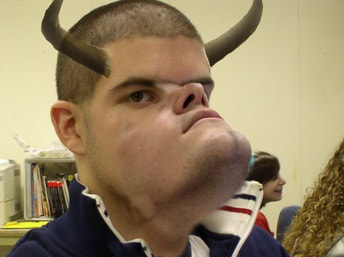
Due: One week Project Description: Combine digital photographs of friends, animals, and natural objects into a “grotesque” Objectives:
Materials: Adobe Photoshop Parameters: Format as follows:
Steps:
(Be sure to include a background/environment.) Grading Criteria:
Tips to Get Started:
 PROJECT
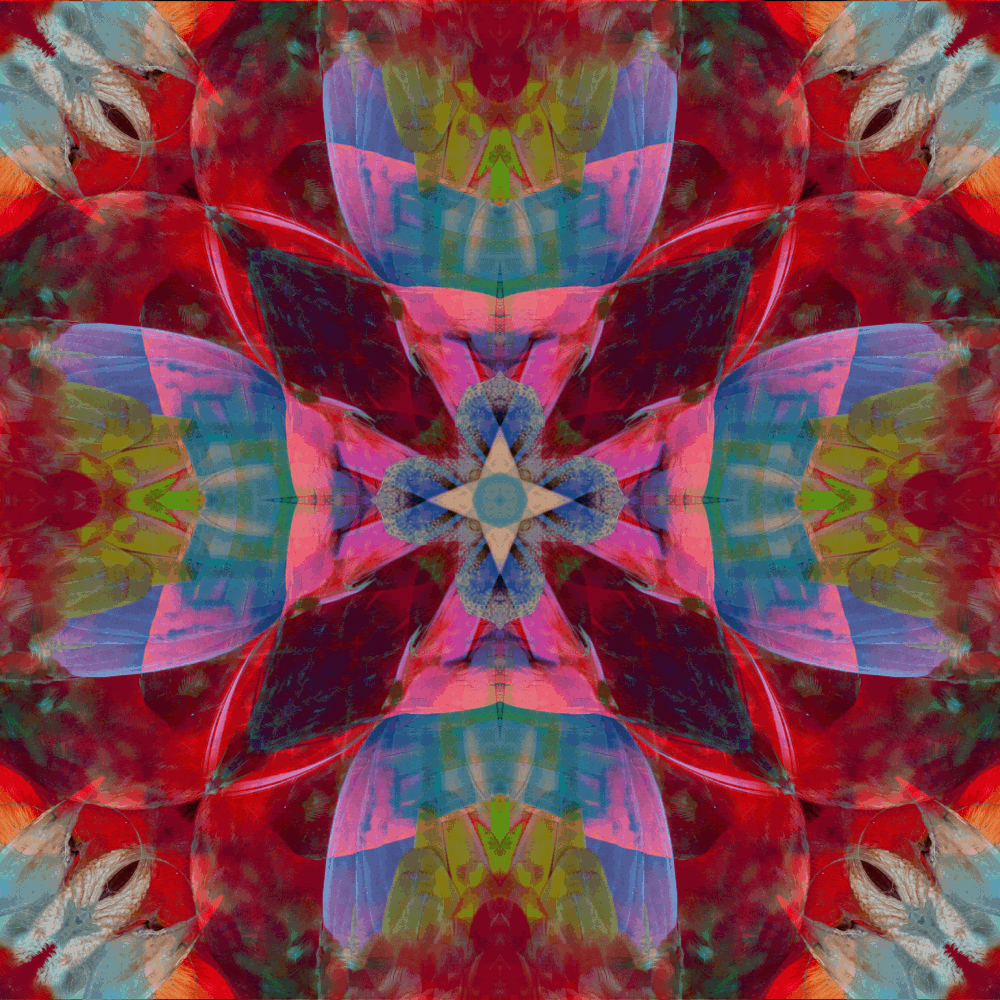
Using Photoshop, create an animated .GIF from 2 of your Kaleidoscopes. VIDEO TUTORIALS: PROCESS: First save 2 of your Kaleidoscopes as .jpgs and place them on your drive. TO CREATE .GIF in PHOTOSHOP:
TO CREATE .GIF in PHOTOPEA
 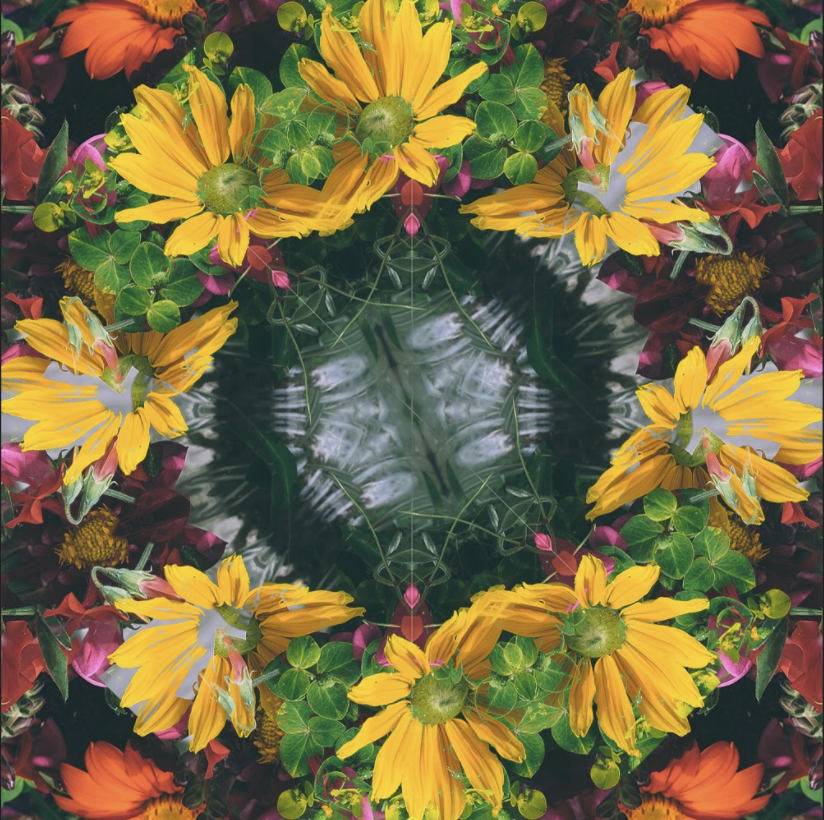 PROJECT: Create two Kaleidoscope designs from two different images using Photoshop. Project Objectives:
Master Artists' Abstract Designs (Slideshow) VIDEO TUTORIAL: Kaleidoscope Tutorial (Video) BEFORE YOU CREATE YOUR KALEIDOSCOPES
STEPS TO CREATE YOUR KALEIDOSCOPES
SAVING THE FILE TO THE RIGHT SIZE
APPLY THE EFFECT: Applying Blending Modes: SEE Examples of blend modes below  Save as .PSD and .JPG and turn in the assignment in Classroom -
Turn in the original photo with the final Kaleidoscope .jpg file. Have fun exploring the blend modes. Grading Criteria: General Art Rubric Giuseppe Arcimboldo was an Italian painter who lived circa 1530 to 1593. He was a court painter and portraitist who came to use fantasy in his work. He created allegorical representations of such things as the Four Seasons using animals, fruits, vegetables and other objects as the basic forms comprising the heads of his "people". Due:
Three days Project Description: Using related objects, create a fantasy "portrait" in the style of Arcimboldo. Objectives:
Materials: Adobe Photoshop Parameters:
Steps (Process):
Grading Criteria:
Tips to Get Started:
Helpful Resources: View the works of Arcimboldo. They can be found at this site: http://www.giuseppe-arcimboldo.org/ Self Critique Questions: Before turning in your work, ask yourself:
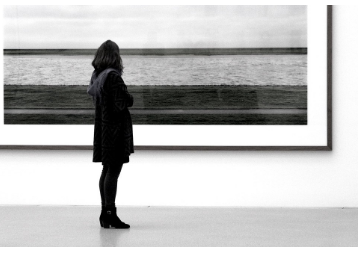 Read this blog post by Ms. Djordjevic on Creating Impactful Images.
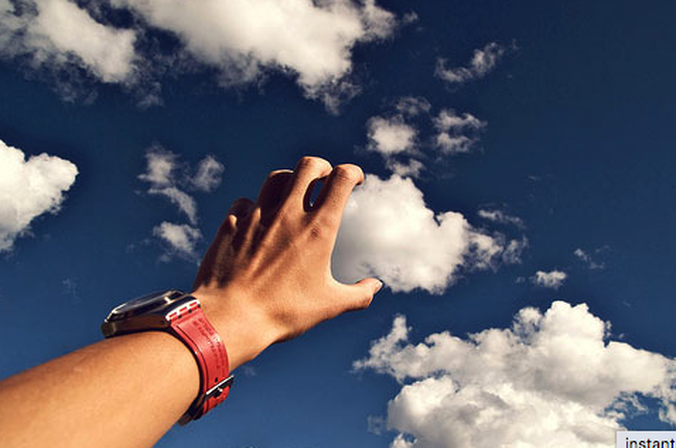 Check out these great examples of Forced Perspective
Objective: Create an image using photoshop that demonstrated your understanding of photoshop and how to merge multiple images to create a forced perspective work of art. Use original photos that you take to create this ORIGINAL work of art. Process: Outside of school take photographs of the sky, landscape, and nature Outside of school take photos of your hands, feet, body in a variety of positions Search in your camera roll for photographs that you could use. Photos of objects, pets and people are good. Collage and merge photos together to create your own forced perspective work of art. Evaluation: Level of creativity Collaboration Use of Photoshop Participation This year we will have lots of great adventures creating works of art!
First- I'd like for you to think about art in a new way. Please watch this video and then answer the following questions on this form. Second- read this blog post Ms. Djordjevic on Creating Impactful Images. Watch all three videos. In a google document or in a notebook/sketchbook of your own list 5 things that you learned after watching each video. Project: Create a surrealist (dream) image.
Objectives:
Dimensions: At least letter size (8.5 x 11 inches) Resolution: 300 ppi Color Mode: RGB or CMYK Use two original photos You must appear in the artwork Grading Criteria:
 Surrealism
A cultural movement beginning the 1920s that uses visual imagery from the subconscious mind to create art without the intention of logic. Elements present in surrealist imagery:
View the work of Erik Johansson, a modern surrealist photographer: http://www.alltelleringet.com/ Art History Challenge: Create a well designed collage using Canva or Adobe Spark (poster) of one of the above listed artists include the following:
Parameters: Image size: 8.5" x 11" Resolution: 72 dpi Upload completed collage into google classroom |


 RSS Feed
Photo from wuestenigel
