|
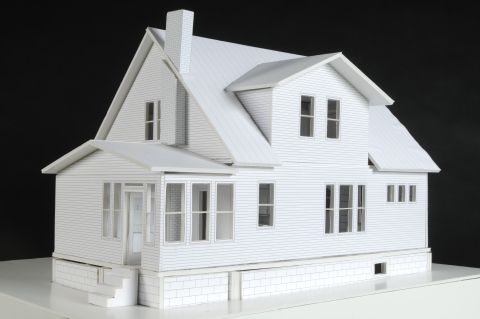
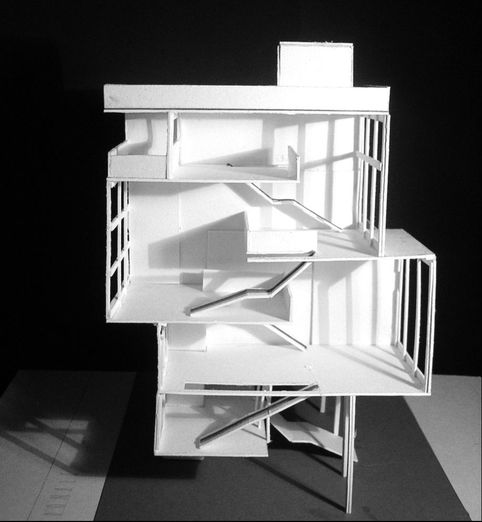
After completing your model of your dream building. You will need to photograph your model. Please following the steps to create a high quality images of your model. Take your time and pay attention to details as this is an important step in documenting your design.
Steps: 1. Check details of you model and correct, edit, cut and sand down rough edges. 2. Erase pencil lines. 3. Set up the photography area with a dark, neutral background. 4. Set up a dark, neutral table top surface to place your building on top of. You may use rolls of paper or fabric. 5. Set -up spotlights if needed to light your building. The lighting should showcase lighting effects on the building (i.e. windows, shadows and cutouts). 6. Take multiple photographs of the building from different perspectives and angels. You will need to take lots of photographs. 7. Edit the photographs and select 3-7 high quality images. 8. Upload the images to google classroom. Comments are closed.
|
Introduction to Architecture
This full year course for grades 10-12 is an overview of architecture. Course ExpectationsArchives
March 2022
|


 RSS Feed
